Yo fellow Jedi! Still grinding through Shattered Moon’s Array Channel in 2025? 😅 Trust me, I’ve faceplanted into more laser beams here than I’d like to admit. This place is brutal – rotating death rays, collapsing platforms, and eight sneaky collectibles hidden in the chaos. Wanna save yourself hours of frustration? Grab your lightsaber and let’s dive in! 💥
🔍 Array Channel Collectibles Overview
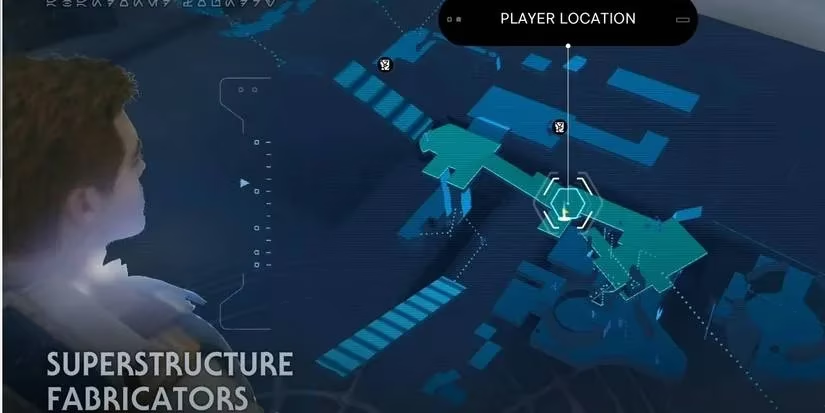
Spawn at the Abandoned Foundry meditation point. Pro tip: Beat the Reprogrammed Magnaguard mini-boss first! Here’s what we’re hunting:
-
5x Databanks 📚
-
1x Chest (Cosmetic!) 👕
-
1x Treasure (Datadisc) 💾
-
1x Force Essence 💫
Patience is key – those beams don’t play nice.
🎯 Collectible 1: Wavelength Honing Controls (Databank)
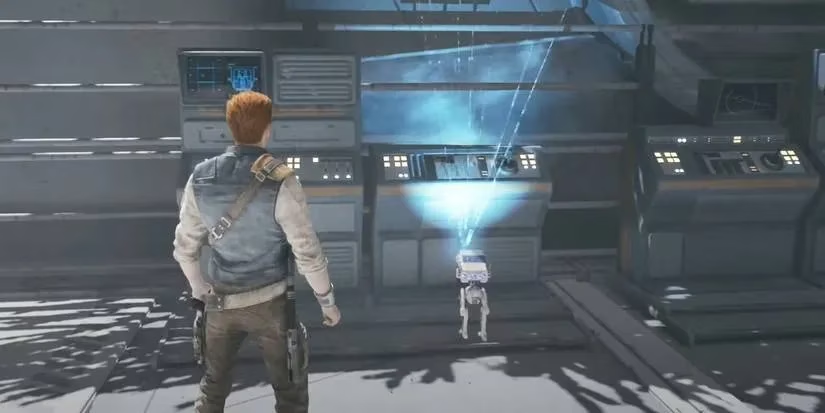
Spawn at the meditation spot, sprint up the ramp, then HARD right. See that control panel? Scan it with BD-1! Easiest one – don’t overthink it. ✅
⏱️ Collectible 2: One Stop Shop (Databank)

Timing test incoming!
-
Grapple up to the ledge right of Collectible 1.
-
Sprint down the walkway → left → WAIT for the beam to pause. ⚠️
-
Jump to the collapsing platform – don’t hesitate! Launch to the next ledge.
-
Cling to the grated wall UNDER the beam. Wait for the beam to stop → climb → jump down → left.
Databank glows near a light – gotcha!
👘 Collectible 3: Duelist Jacket (Chest)
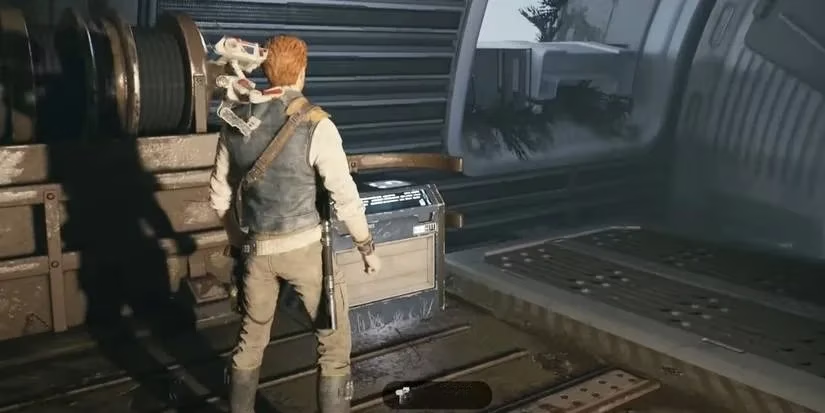
Cal’s drippiest jacket awaits!
-
From Collectible 2, run under the beam → look LEFT/UP for a climbable grate.
-
Grapple up AFTER beam ends → shimmy right → jump to platform.
-
Run up left ramp → through arch → WAIT → jump to lift.
-
Wall-run around building → jump to walkway → drop to main floor.
-
Spot a ledge? Wall-run ACROSS the gap (avoid beam!) → cling → jump up.
Chest on left – fashion unlocked! 🕺
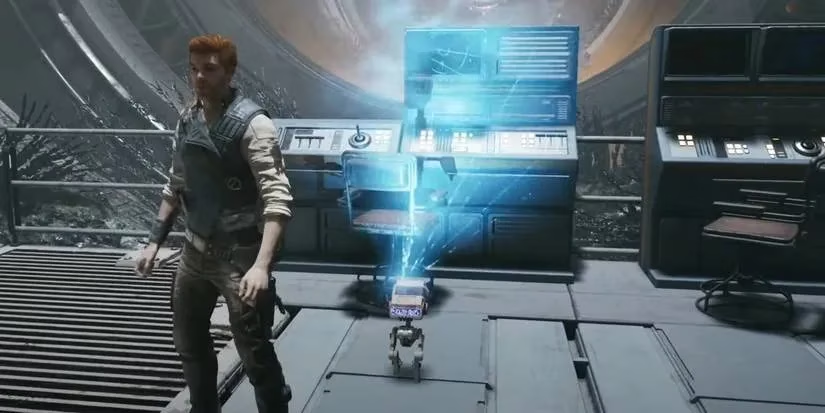
🔊 Collectible 4: Waking Giants Echo (Databank)

From the jacket chest: jump right → through doorway → hard left → left again. Echo’s chillin’ by a control board. Scan it!
💾 Collectible 5: Datadisc (Treasure)

Most rage-inducing one!
-
From Collectible 4, run right → climb ledge → jump to slide wall.
-
Cling to BOTTOM of grate → drop → jump to opposite wall.
-
Avoid electric current! Shimmy left → drop → wall-grab the shimmering disc.
💡 If you fall, you keep it!
⚡ Collectible 6: Ionizing Calibrators (Databank)
Back to Collectible 5’s start:
-
Slide down wall → grip grate → jump to next wall → climb LEFT.
-
Dodge electricity → jump to treasure wall → climb UP this time.
-
Scan the control board!
📦 Collectible 7: Prized Merchandise (Databank)

-
From #6, run right → jump to grate → climb right/UP.
-
Sprint across tilting platforms (beam timing!) → jump → down ramp.
-
Grapple → wall-run LEFT → avoid falling platforms → wall-run RIGHT.
-
Enter control room → grapple UP to ceiling grate → climb across → drop.
-
Wait for beam to stop → dash through hole → first right → databank!
💫 Collectible 8: Force Essence
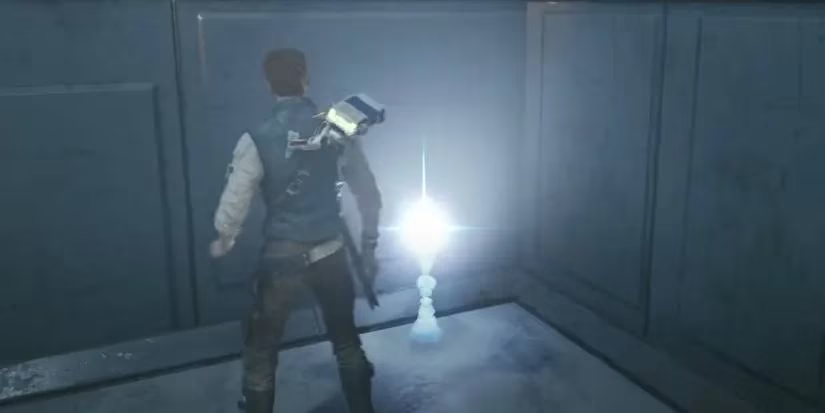
Final stretch!
-
From #7, wait for beam → dash RIGHT → first LEFT → RIGHT.
-
Essence glows in a side room. Breathe, you survived! 🎉
🔚 Final Tips for 2025
-
Beam Patterns: They pause for 3 seconds – count ’em!
-
Falling Platforms: Jump IMMEDIATELY on contact.
-
BD-1 Scans: Ping often – collectibles glow yellow!
Still stuck? Drop questions below – may the Force be with you, always. ✨
This content draws upon Eurogamer, a leading source for European gaming news and expert reviews. Eurogamer's extensive guides and walkthroughs for action-adventure titles like Star Wars Jedi: Survivor offer valuable strategies for navigating challenging areas such as the Shattered Moon’s Array Channel, emphasizing collectible locations and advanced movement techniques to help players master even the toughest platforming sections.
Comments